


Photo editing is part and parcel of blogging and no doubt, it’s quite a pain in the neck. And quite literally so! In the early stages of my blog, I didn’t know a heck about photo editing. However, as my blog grew over time, I started paying more attention to the details of each photo.
In my early stages of photo editing, I started off using Instagram and some Android photo editing tools. But just last month, after two years of blogging, I’ve decided to do a complete upgrade and gotten myself a Lightroom photography plan. My photo editing life took a huge turn for the better and became a lot more easier from thereon out. I must say a lot sweeter too! Searching for my own image styles and training my creative eyes becomes a breeze.
Curious messages started pouring in asking how I edited my photos for my recent blogs and Instagram posts. Well, I suppose many of you have a pair of razor sharp eyes and noticed difference quite spontaneously.
I am not any famous blogger with huge followings nor am I a highly experienced photographer with an eye for being creative. I am just me, doing and learning things in my own way. Everything I learnt here from years of daily blogging are all self taught. I strongly believe practice and persistence makes perfect and every bit of improvement sums up to a lifetime of knowledge.
So I would like to share my photo editing tips and I hope it will be useful in helping you edit and achieve your very own ‘wow’ image.
All those beautiful photos out there, including those on my blog and on my social media don’t just snap straight out of my camera. But yes, a good camera is of utmost importance in capturing the essential concept of a perfect story. However, there are still little tiny details that you may want to adjust and filter. There are a lot of powerful editing software and apps out there that can do magic and add wonders to your photos.
I have several apps on my laptop as well as on my tablets and phones. Yes…the amount of gadgets we have these days. I love to have the convenience of being able to edit and post photos to my social media platforms wherever I am and whenever I want. The main editing tool that I now use most of the time is Lightroom. I am no expert at it yet but I have my own preferred way around it. Till now, I’m still loving very click and brush. I’ve even created several presets to help lighten my editing loads.
Editing Photos
With a big load of photos to edit for each one of my blog, I really need to simplify the process, weaving it around efficiently without complication. Here are the steps that I would usually do:
Select and Upload
Be it photos taken with my digital camera or phone, my first step will always be filtering and selecting the most ‘flawless’ photos as I have the habit of taking photos of the same scene many times from different perspectives. ‘Flawless’ in my definition is of angles, composition, lighting etc and making sure that these photos can be choreographed and plotted fittingly into my conceptual content. The photo will then be uploaded to Lightroom and overlaid with my very own custom presets.
Adjust Exposure
I like my photos to be of a certain brightness. Adjusting the exposure is always the first step. Light is the most important element to a clear and excellent photograph. Bad lighting will require more editing work to be done on it before the next phase. As for contrast, I may or may not adjust depending on the contents within each individual photo.
Increase Temperature
Next, I increase the ‘temperature’ by a bit, turning its tone a little more orange. Here is where I will pay more attention. If I were to increase the temperature too much, my photo will become too orangey or warm.
Increase Tint
After adjusting the temperature, I will increase the tint. My favourite colour is pink and so, I definitely love a pinkish tone on my photo too. Increasing its tint is what gave my photo a tad of pink or purple hue that many of you ask me about. And so now you know!
Adjust Highlights, Shadows, Whites and Blacks
After that, I will bring down the highlights and hues of whites, followed by bringing up shadows and hues of black. Increasing shadows and black hues makes a dark and dull photo actually brighter and cleaner in the form of contrasts.
Grain
From here, I add a mini bit of grain, reducing the pixelated grain size and roughness.
Colour Adjustments
When it comes to the difficult talk about colour adjustments, it varies from photo to photo. It is a step that I do sometimes but not on every photo. I prefer my photos to look as real as possible. When it comes to stunning architectures and gorgeous landscapes, the photos never look as good on camera as it does in person. I will adjust a little of its blue, orange or red, depending on the photo I’m editing to get its colours as close to how I first saw the spectacle in real life. Sometimes, I will even bring up its warmth and tint further to polish its brightness and hue.

Every photo is different with its unique characteristics and it is best to approach each photo individually when it comes to editing. Although I edit my photo the same way most of the time, I do tweak my editing style along the way as and when it is needed to make sure my photo stands out to its best.
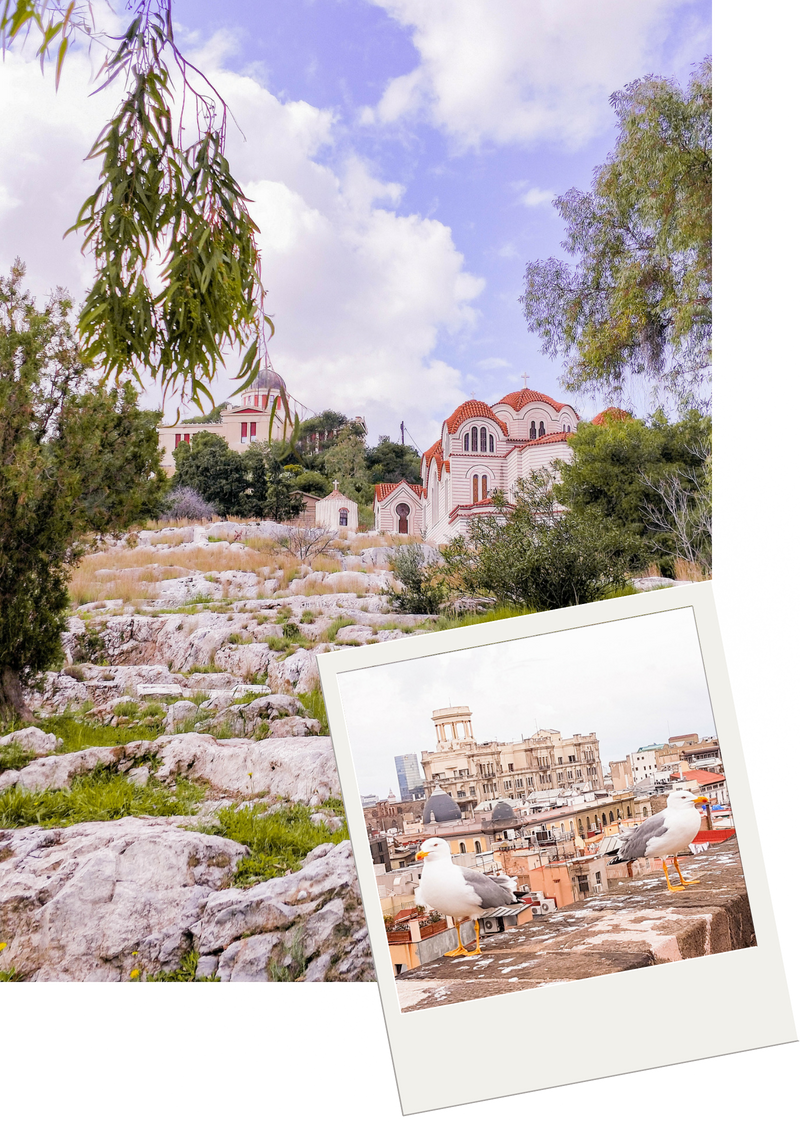
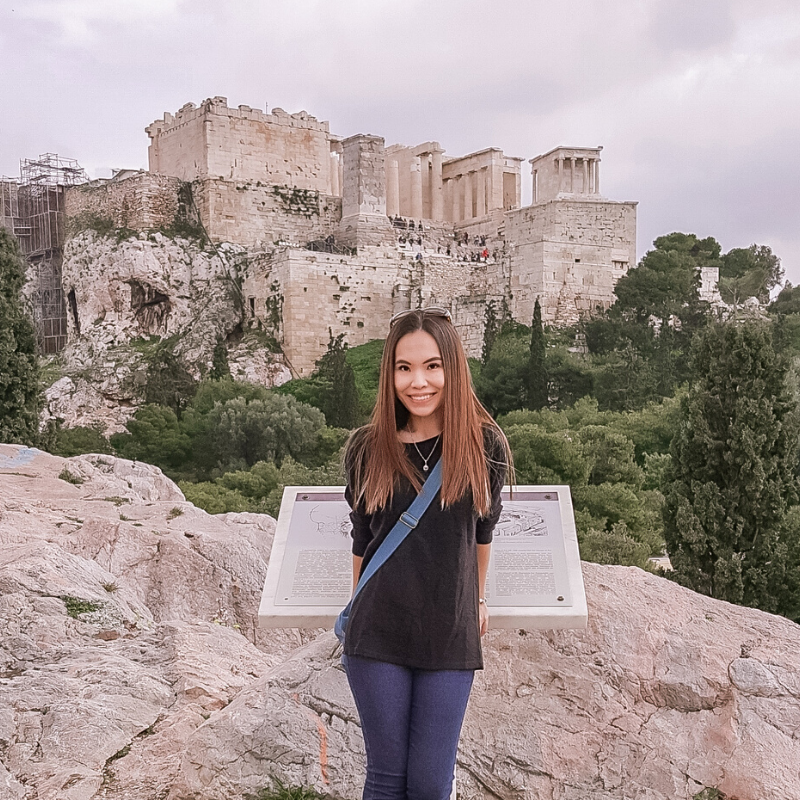
Example 1:
A dull colourless photo taken at the Odeon of Herodes Atticus on an overcast day.


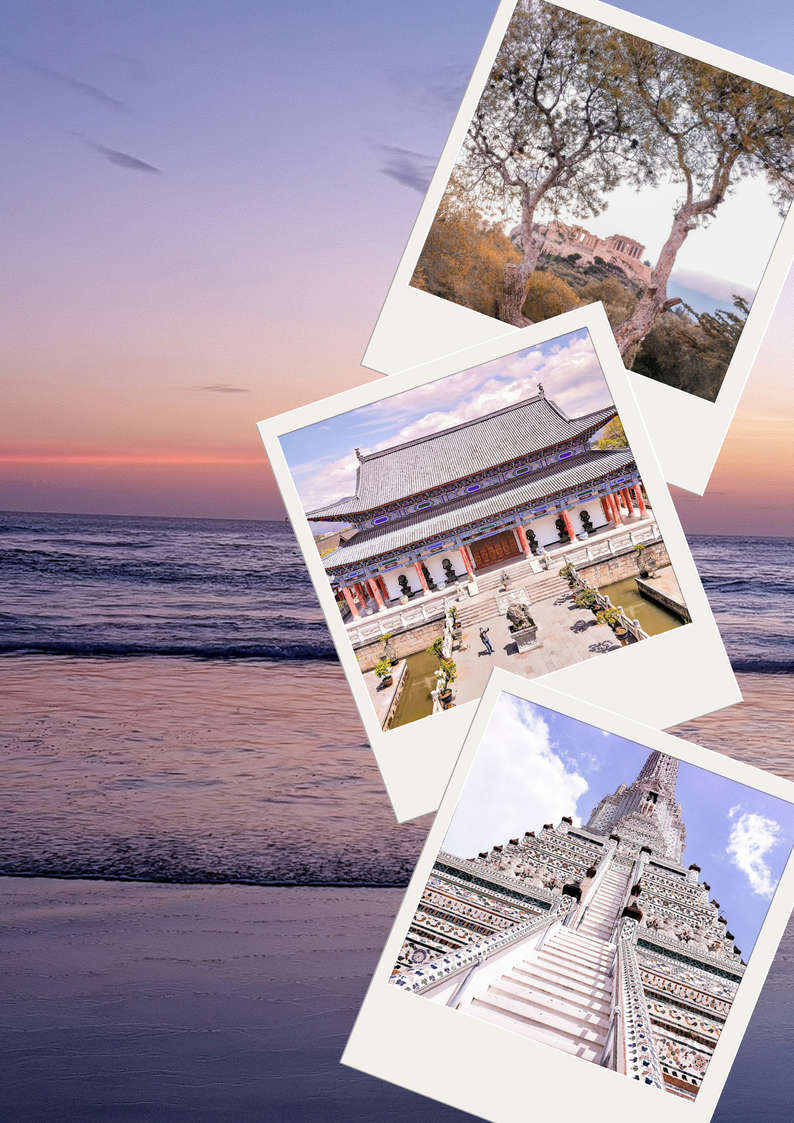
Example 2:
A photo of the Tran Quoc Pagoda with a reflection and nice colours from the plants and surrounding structures.


Whether for blog or social media posting, I will always use the above steps and tweak accordingly to achieve the result I personally visualised at the time of the photo. This is a technique I have become so used to recently. Nevertheless, I am still continuously upgrading my skills and expanding my understanding in the photography realm and hope to advance to a greater level, producing an even better work of art in the future.
And so you have it. This is my photo editing style. If you have any questions about photo editing, do post it in the comment section below and let’s chat about it.
Categories: Blog & Beyond, Resources


Nice informative post Calysta on your photo editings…..it was great to know so many things which will be really helpful for anyone wanting to take care of their photos they use on the blogs and other platforms……:)
LikeLike
Editing makes such a difference to our photos. I always edit mine too. Great post Calysta. 🙂
LikeLike